Installation
Choosing the right equipment is only the first step—professional indoor playground installation ensures that your project is safe, durable, and ready to attract families. At Cool Play, we don’t just deliver equipment; we provide a full-service installation process that saves you time, money, and effort.
indoor playground installation service,how to install indoor playground equipment,professional indoor playground installers,indoor playground setup process
Reference Video Example
1. Preparation
- Clean the installation area thoroughly.
- Lay down the EVA mats or soft pads before starting, depending on the design.
- Always install one floor at a time, starting from the bottom.
2. Frame Assembly
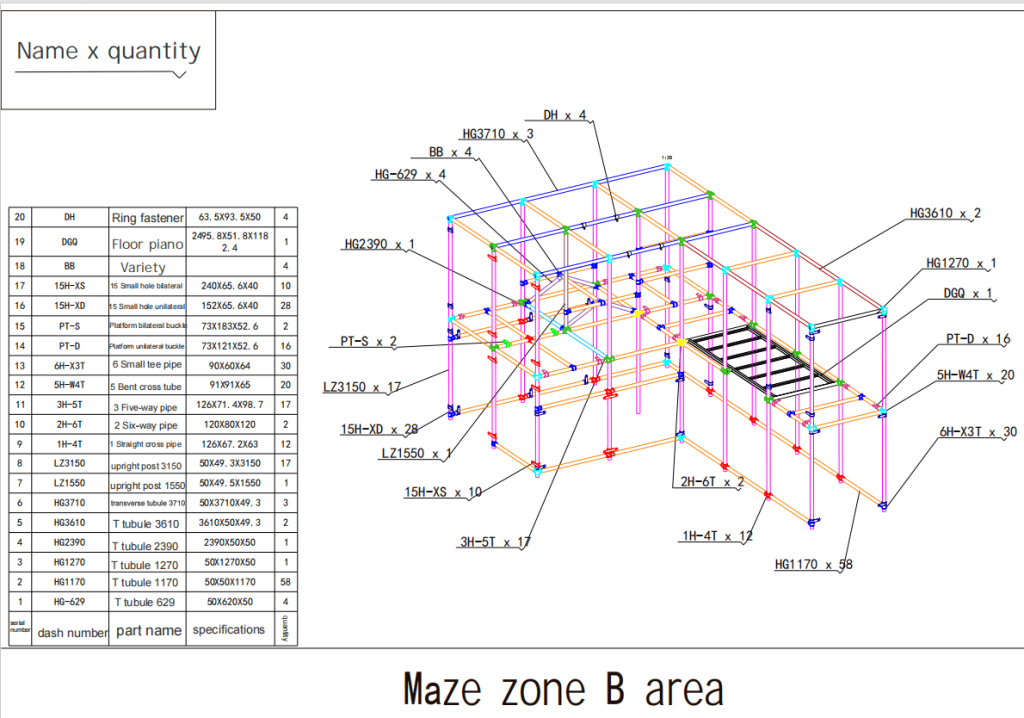
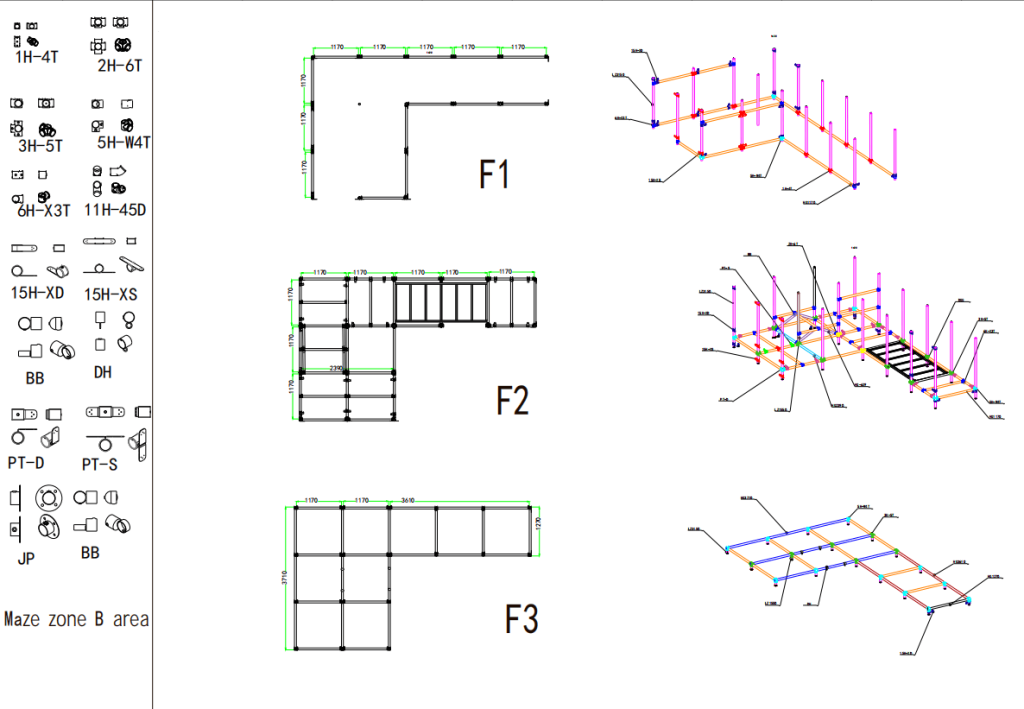
- Begin with the vertical pipes, each with a metal foot platform.
- Insert all fasteners onto vertical pipes before connecting horizontal pipes.
- Refer to the installation diagram for part numbers (A1, A2, B1, B2, etc.).
- Most horizontal pipes are 117 cm and interchangeable.
- Match fasteners by color code in the diagram (same color = same type).
3.Accessory Assembly
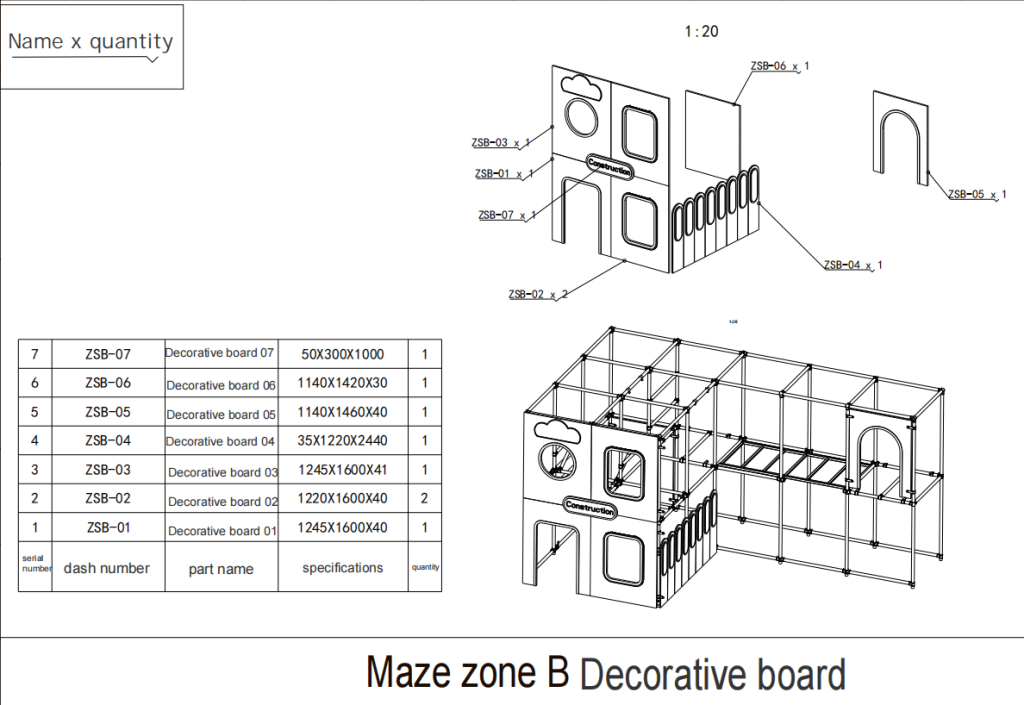
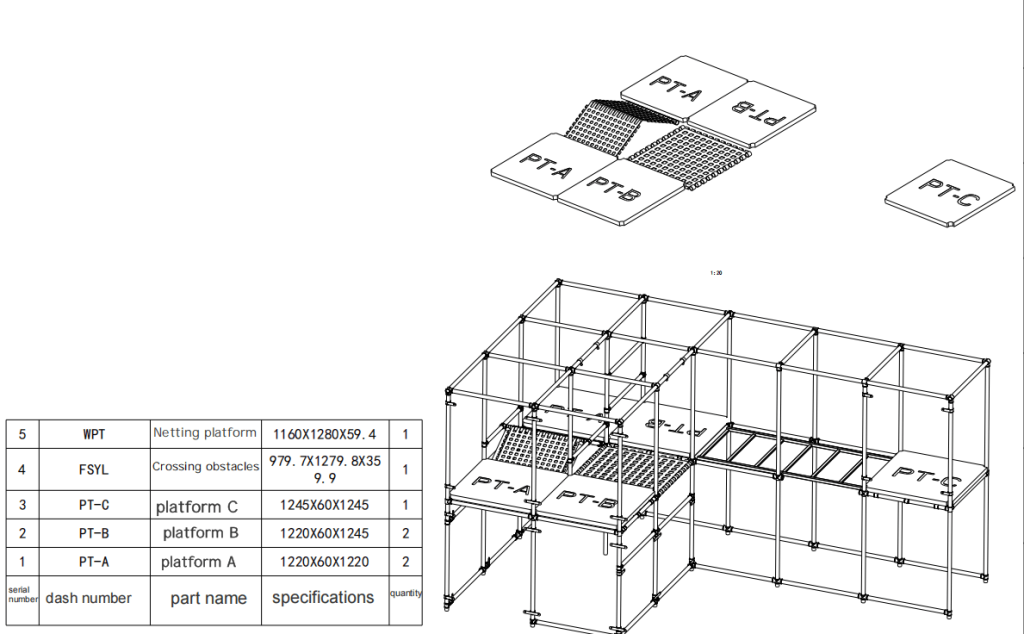
When assembling accessories such as bridges, slide panels, tunnel rings, shooting games, stairs, and obstacles (or any components with metal parts), please follow these rules:
A. Install level by level – All accessories must be assembled and completed on each floor before moving to the next level. Do not skip ahead to higher levels until the lower level accessories are fully installed.
B. Do not cover the top frame – The top level of the frame should not be closed or covered until all accessories and special components have been properly installed.
5.Net Installation
- Install safety nets around the playground, on the top, and in any gaps where children could climb out or fall.
- Ensure all nets are firmly secured to guarantee a safe play environment.
6. Final Safety Check
- Double-check that all pipes, fasteners, and accessories are tightly secured.
- Ensure nets fully cover gaps and climbing areas.
- Test each play element to confirm stability and safety before opening to children.
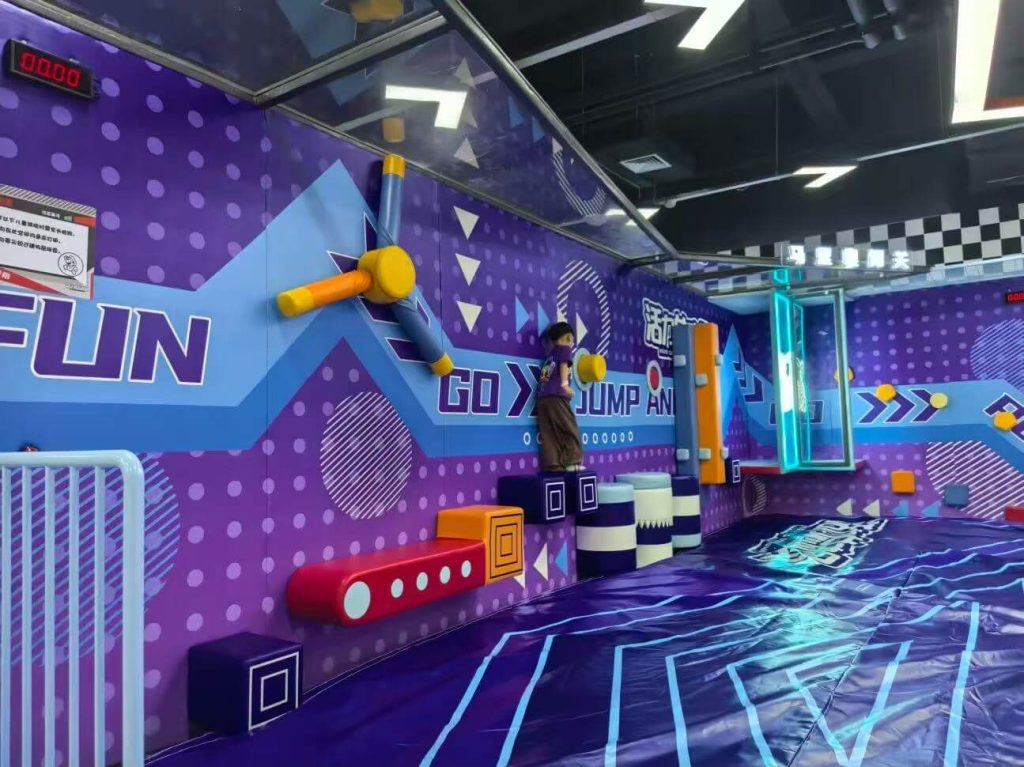
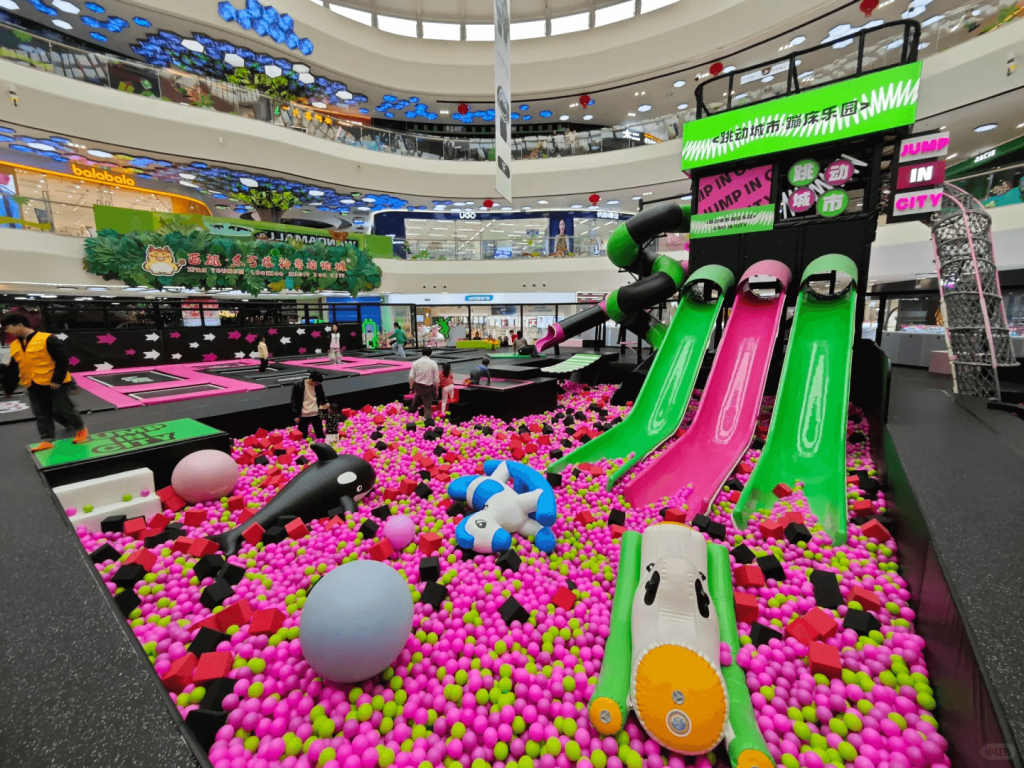
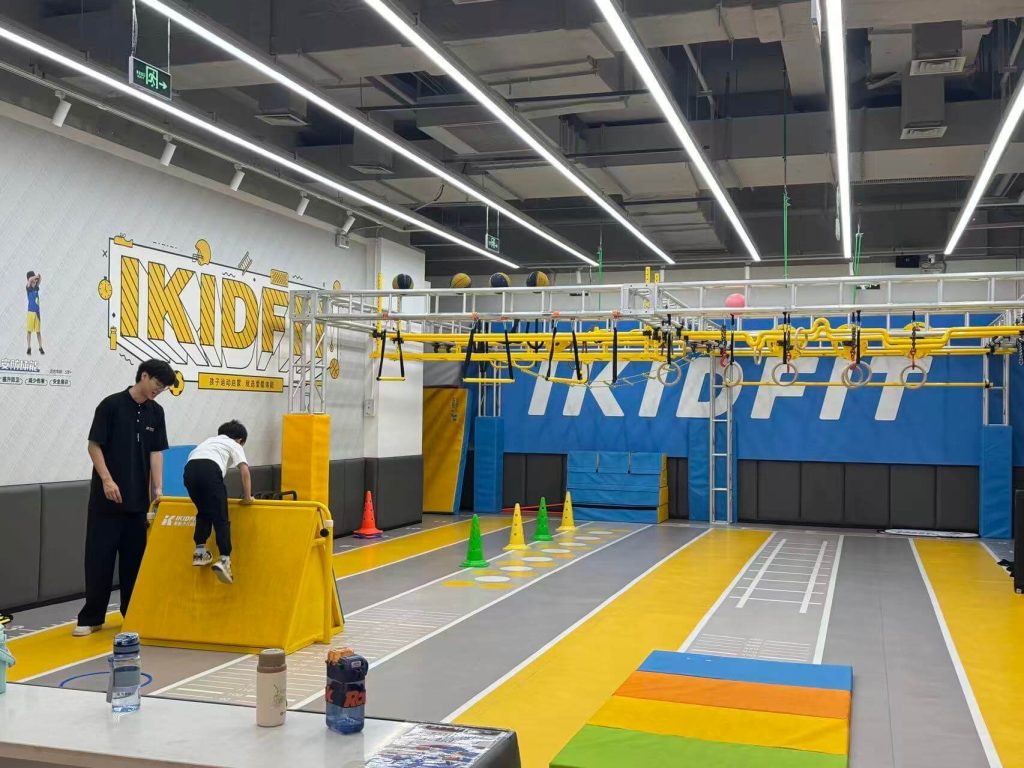
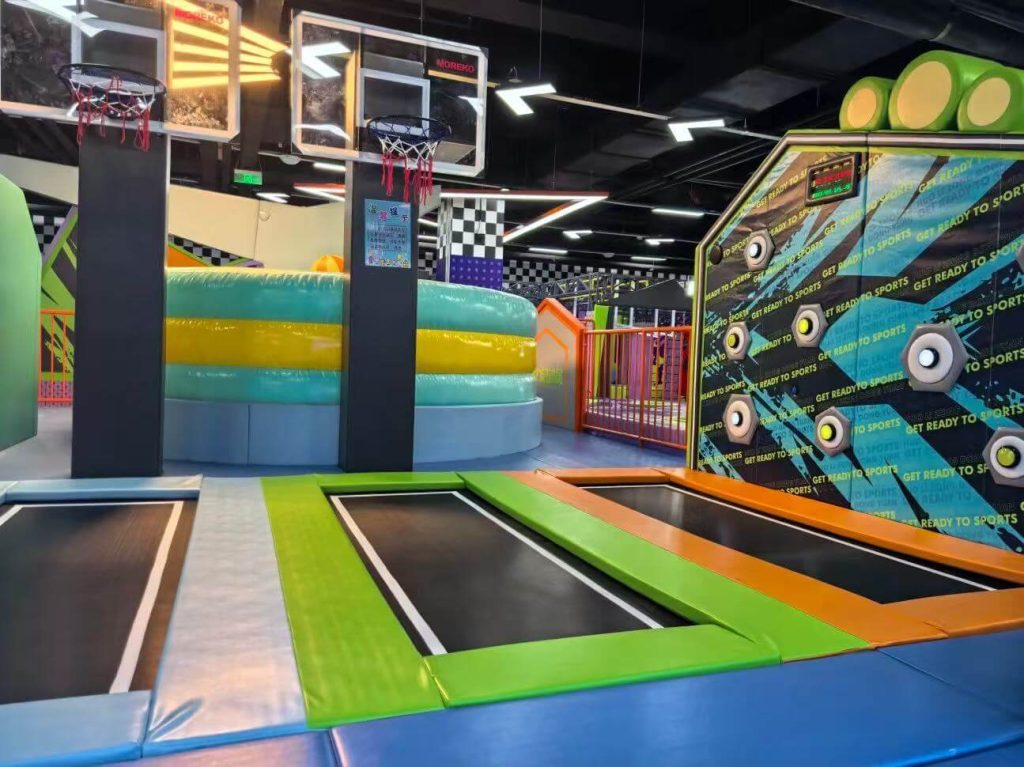
? Installation Options
At Coolplay Playground, we provide flexible indoor playground installation options to suit different client needs and budgets. Whether you prefer to handle installation on your own or rely on our professional team, we ensure the process is safe, efficient, and worry-free.
1. ? Self-Installation (DIY Option)
For clients who prefer DIY indoor playground installation, we provide:
- Detailed installation manuals, videos, drawings, and photos.
- Step-by-step guidance to make the process clear and simple.
- 24-hour after-sales support, where our team is available online to answer your questions anytime.
? This option helps you save on labor costs while still ensuring that your indoor playground setup is done correctly.
2. ? Professional Installation Service
If you prefer a hassle-free and efficient installation, you can choose our professional indoor playground installation service.
- Our experienced engineers and technicians have completed projects in multiple countries.
- Team members hold valid visas and can travel worldwide to install your playground.
- Installation is performed according to international safety standards (EN1176, ASTM, CPSIA).
- Fast, safe, and cost-effective setup so your playground can open quickly.
? Ready to start your project? Contact Cool Play today for a free installation consultation.
